

You can download a PDF of this tutorial here
Colourising word art using backgrounds and the Clipping Group
Tutorial for Photoshop by Lauren Bavin
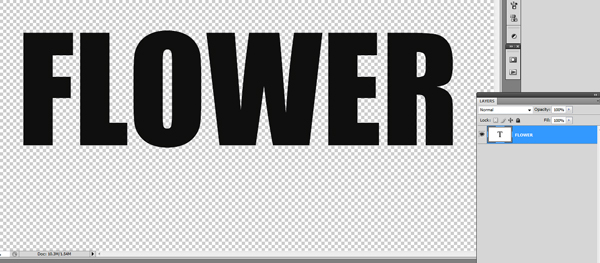
This is a really simple technique that is very useful for filling your word art with a background paper or a photo.
Open your word art and a background you wish to fill it with .
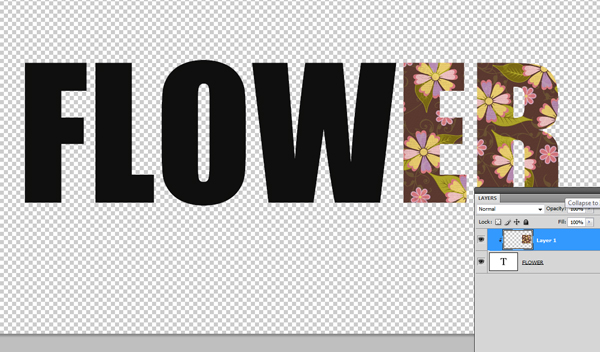
Next open your chosen background and drag it into your layout in a layer over the top of your word art.
Press the Alt- Key and hover your mouse right between the 2 layers in the layers palette
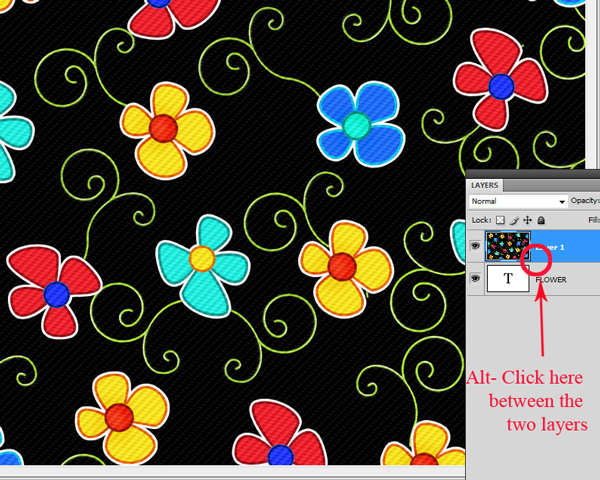
Your cursor will turn to the clipping group Icon which looks like 2 dotted circles intersecting.
Click to form the clipping group
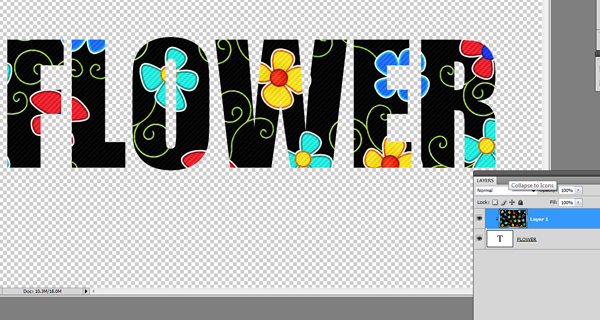
As you can see the excess portion of the background paper appears removed from the layer
You can then go and click on the move tool and move the paper around within the text . You can also resize using the transform tool if you desire.
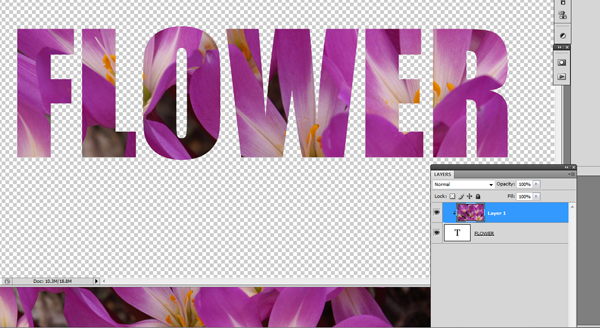
You can use this method with a photo too
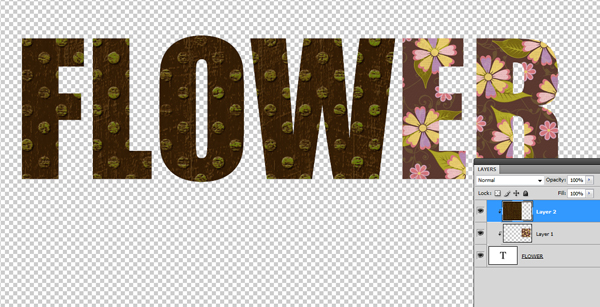
You can also add to your clipping group by dragging in more layers over the top of your original group
Here I have created my clipping group with the brown floral paper and reduced the size so it fills only the last two letters
Then using the move tool I drag another background paper over the top of the existing clipping group .
Photoshop automatically “clips” the new layer to the layers below .
I can then move the paper to where I want it to be using the move tool
You can repeat this process as often as you desire

I hope you have fun with this very easy method of filling text and shapes.
As always with photoshop this is only one method of many for achieving any effect. Each has its own virtues and will be useful in different situations.
Great Tutorial Lauren thanks! I have never done it that way but it sounds easier and quicker, so I'll be giving it a go!
ReplyDelete