

Tutorial for Photoshop CS+
This is a very simple technique for applying a texture to a photo ( or it will work really well on a background too ) non destructively. This means that you never actually touch your original layer and if you decide you want to make some changes later you can easily do that.
First open up your photo or background paper.
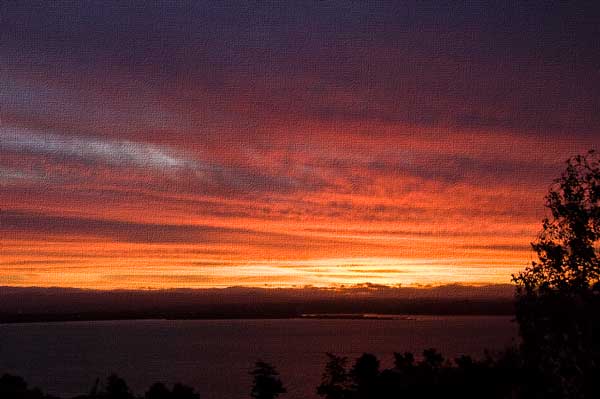
I have decided I would like to apply a canvas like texture to a sunset photo I took the other night.

Create a new layer above the original .
Choose Edit – Fill and choose the option 50% grey from the drop down box

Now you cant see your photo at all , but go to the blend mode drop down box at the top of the layers palette and making sure you have your grey layer active – choose the Overlay blend mode . This will allow your photo to show through.

Now we are going to apply our texture to the grey layer.
Go to the Filters menu and choose Filter – Texture – Texturiser
Choose a texture from the drop down box – there are usually only a few displayed but if you browse to your presets folder (the location of this folder will vary depending on your computer and what operating system you have ) there are always more to choose from in the textures folder .
Here I have just used the default canvas texture.

You can adjust the scaling of the texture and the relief – and the whole texture itself changes its appearance depending on what lightsource you choose from the drop down box so experiment and find a texture you like.
When you hit the ok button your texture will be visible on your photo
If you want to try a new texture just fill your grey layer again with 50% grey and start over with a new texture.
Here Ive applied a Rust Flakes texture ( below shows a crop from the original photo )

Experiment with the different textures until you find one you like for your photo or your background.

I hope you have some fun with this – if you use it Id love to see your results.
You can download a pdf of this tutorial here
No comments:
Post a Comment