

Achieving the Illusion of a Lifting Edge.
This simple tutorial uses the warp tool which was new to Photoshop versions CS2+ and therefore will work with all versions since then.
You can download a pdf version of this tutorial here
A trend in digital scrapbooking recently is the illusion of a photo or paper partially lifting off the page.
This is easy to achieve in Photoshop CS2+ by using the warp tool.
For this example I have a photo which I have placed on my layout

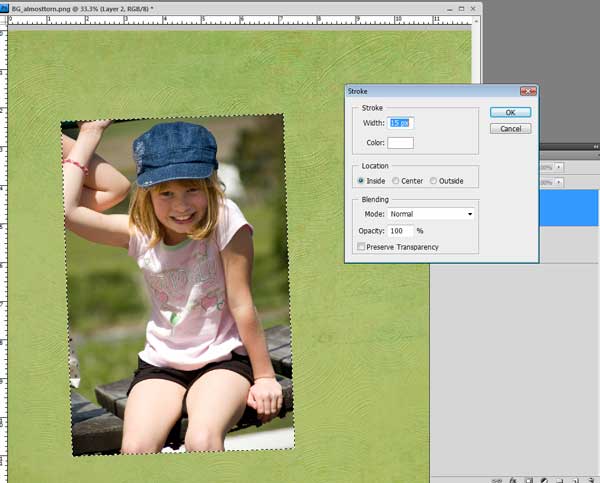
For effect and to give the photo some added focus I am going to give the photo a white edge. This is not necessary and is an optional step.
To achieve the edge cntrl-Click on the photo layer in the layers palette to select the photo.
Marching ants will appear around the photo.
Use the command Edit- Stroke and add a stroke on the inside of the selection as shown in the screenshot below.
(If you choose outside you dont get a sharp edge.)
Now we are ready to add a drop shadow to the photo.
Do this in the layer styles palette .
With the photo layer active click on the layer style icon at the bottom of the layers palette.
The actual look of the icon may look different in different versions but if you hover over the icons you will see the names appear.

Create the drop shadow by clicking on the drop shadow option in the layer styles palette.
Keep the distance setting to about 5 and move the size option up to about 9 or 10 just to soften it a bit , but this isnt too important as we will be altering the shadow in the next few steps anyway.

A shadow applied with a layer style is “attached” to the layer – when you move your photo the shadow will move with it. We need to detach the shadow from the photo so we can manipulate it separately.
To do this, right click on the layers palette on the layer style icon on the actual photo layer.
( again the icon may look different in earlier versions of photoshop)

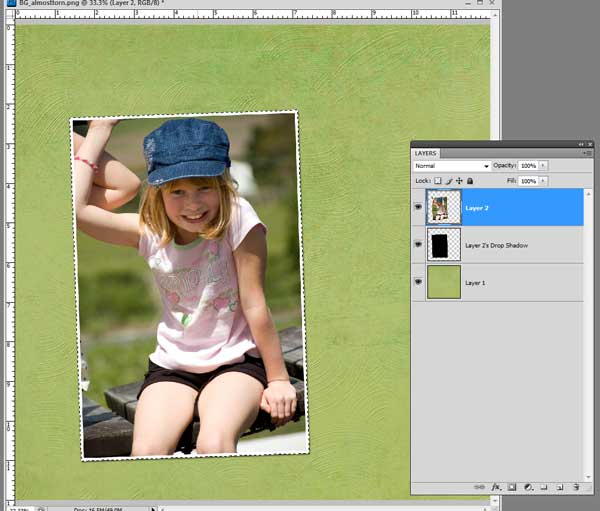
When you right click on the icon a menu will appear- select the Create layer command.
A warning dialogue may appear – ignore the warning and carry on .
In your layers palette you will see that your shadow is now on a separate layer
With the photo layer active use the command Edit – Transform – Warp .

A mesh will appear over your layer – click on the corner of the photo that you wish to lift off the page and drag the point diagonally inwards a small amount

As you can see this gives the illusion that the photo is lifting off the page.
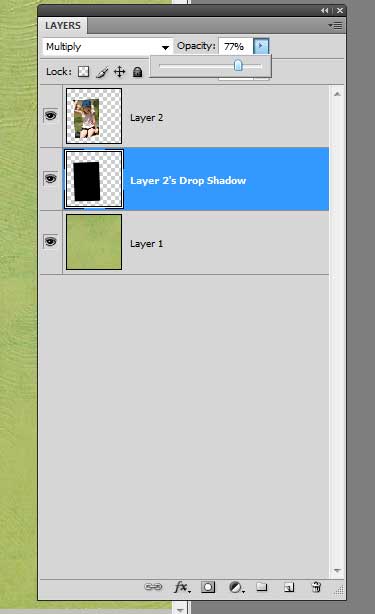
To perfect the look add a slight blur to the shadow layer to soften it ( Filter – Blur - Gaussian Blur) and reduce the opacity of the layer if necessary by dragging the opacity slider in the layers palette.
This efffect can be applied to elements and papers as well .
I hope you enjoyed this simple technique and have fun lifting some edges!!

Thanks for sharing this cool tip! HeatherH
ReplyDeleteThis is awesome thank you so much Laure;)
ReplyDeleteThanks, Lauren.
ReplyDeleteYeah! I was messing around trying to do this and little did I know, you were going to teach me! Is the "Bow Lesson" next? lol
ReplyDelete